Web Development on Android Using UserLAnd and CX File Explorer (Node.js)
If you don’t have a laptop or a PC, learning web development or starting freelancing is no longer impossible! UserLAnd is an excellent solution for creating a complete development environment using an Android phone. This app allows you to run a Linux operating system without needing to root your phone.
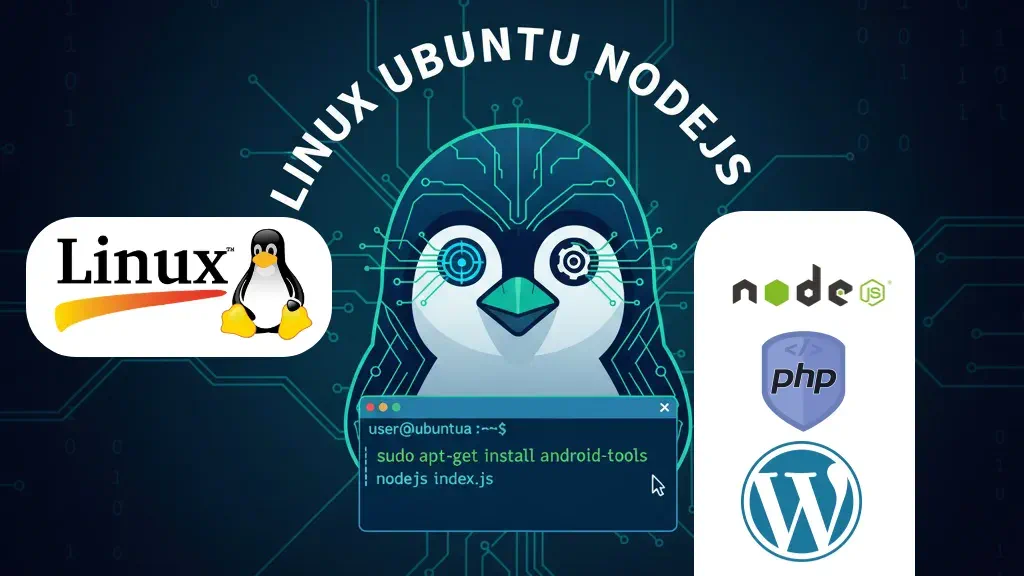
Linux is the foundation of web servers and hosting. By setting up Linux on your phone, you get the opportunity to develop any type of website—such as Node.js, PHP, Laravel, WordPress, e-commerce, or a blog. Follow this guide to transform your Android phone into a coding laptop.
🧩 Step 1: Install UserLAnd App and Initial Setup##
- Open the Google Play Store.
- Search for 👉 UserLAnd, install, and open the app.
- The first time you open it, choose a Linux Distribution. Select Ubuntu as it is easy and popular for developers.
- After selecting Ubuntu, choose the Minimal and Terminal options.
🧩 Step 2: Ubuntu System Setup and Download##
The necessary files will begin downloading. This step may take some time depending on your internet speed (approximately 1 GB of data). Once the download and setup are complete, a Terminal window will open automatically. **
🧩 Step 3: Update System Packages##
It’s crucial to update all packages in the Linux system first. Type the following command in the terminal:
sudo apt update && sudo apt upgrade -y
Note: This process may take some time to complete for the first time. Please be patient.
🧩 Step 4: Install Node.js##
Node.js is very popular for web development. Install Node.js and npm (Node Package Manager) by running the following commands sequentially:
First, install curl:##
sudo apt update && sudo apt install -y curl
Then, install Node.js (LTS Version):##
curl -fsSL https://deb.nodesource.com/setup_lts.x | sudo -E bash -
sudo apt install -y nodejs
Verify Installation:##
Check the Node and npm versions to see if the installation was successful:
node -v
npm -v
If a version number is displayed (e.g., v22.10.0), then Node.js has been set up successfully. ✅
🧩 Step 5: File Editing with CX File Explorer (FTP Setup)##
To easily edit files, we will use CX File Explorer and an FTP server.
- Install CX File Explorer from the Google Play Store.
- Install the FTP Server in the UserLAnd Terminal:
sudo apt update
sudo apt install python3 python3-pip -y
sudo pip3 install pyftpdlib
- Start the FTP Server (Port 2141 is used):
nohup python3 -m pyftpdlib -p 2141 -w -d /home/userland&
Set up the FTP Connection in CX File Explorer:
- Open CX File Explorer.
- Go to the Network option.
- In the Remote section, tap “New connection/location” (or the
+icon). - Connection Type: FTP
- Host:
localhost - Port:
2141 - Anonymous: Check the box.
- Tap OK or Connect.
Now you can easily manage the files in your Linux environment.
🧩 Step 6: Create and Run a Node.js Web App##
Now we will create a simple Express.js server:
1. Create Project Folder (myapp 📂) and Setup:##
mkdir myapp
cd myapp
npm init -y
npm install express
2. Create and Edit File:##
Create a file named server.js inside the myapp folder using CX File Explorer. Copy, paste, and save the code below:
const express = require('express');
const app = express();
const PORT = 3000;

// Root route
app.get('/', (req, res) => {
  res.send(`


      Node.js Mobile Demo

        body {
          margin: 0;
          font-family: Arial, sans-serif;
          display: flex;
          justify-content: center;
          align-items: center;
          height: 100vh;
          text-align: center;
          background-color: #f0f0f0;
          color: #333;
        }
        a {
          color: #007bff;
          text-decoration: none;
        }
        a:hover {
          text-decoration: underline;
        }


        ## ✨ Hello! ✨##

I am running **Node.js** from mobile 😎


Server is running on http://localhost:${PORT}


  `);
});

// Start server
app.listen(PORT, () => {
  console.log(`🚀 Server running at http://localhost:${PORT}`);
});
3. Start the server in UserLAnd:##
node server.js
4. View in Browser:##
After seeing the message in the terminal, go to your phone’s browser: http://localhost:3000. Your web server is running! 🎉
📱➡️💻 Your phone is now your coding laptop!
With this setup, you can develop not only Node.js but also PHP, Next.js, and Python applications. Develop anywhere, anytime! 😎🔥